By: Michelle Hua
Making ceramics might seem easy. After all, it’s just molding a piece of clay and baking it. However, it is more difficult than it looks. There are a few important details to help you successfully create a ceramic piece.
The first step of making ceramics is to wedge your clay. Most clay already comes wedged, but you should still wedge it just in case. Throw your clay onto a hard surface at an angle, and pop any air bubbles that appear. Air bubbles are especially dangerous in ceramics. When the clay is baked, the air bubbles heat up and expand, which can cause the clay to crack, or even explode.
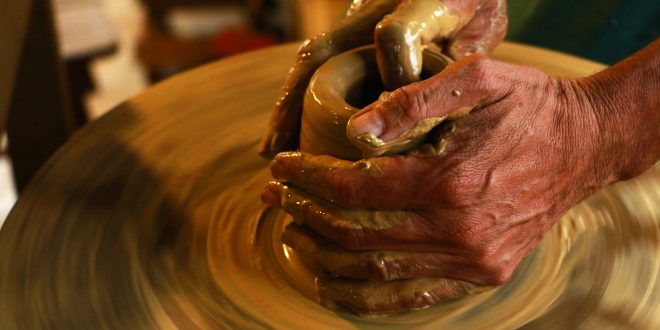
After wedging the clay, you can begin to shape your piece. If you are make a bowl, vase, or other similarly shaped piece, you should roll out the clay into a long, cylindrical shape, and coil it on top of itself to build the height. You can then smooth it out. A pottery wheel can be helpful in making a cup or vase. When connecting two pieces of clay, you should first score both parts with a sharp-tipped object, then add slip to it. Slip is just clay with water added to it, and acts like a glue. After adding the slip, press together the two objects to join them. Scoring is important to make sure the pieces stay connected.
Once you have shaped your piece, you should let it dry until it is completely hardened and is no longer malleable. Then, you can bake it. The pieces have to be baked several times at different temperatures. The first time, the kiln (an oven for baking clay) is slowly heated up to get rid of the water, up to about 1700 degrees. This gives the piece a glass like texture. The process is called bisque firing. After it cools, you can glaze it. The last step is to glaze fire it. After it has cooled, you have a completed ceramic piece.
 Tempus Magazine By Students, For Students


